Adding a Fingerprint to your Dog Tags
U.S. Marine Corps World War II Dog Tags cannot add a fingerprint to the reverse side of any dog tags that you order. This process requires your right index finger and is therefore impossible for us to duplicate without your physical presence.
The original process prescribed in 1941 required the use of corrosive chemicals that could cause physical injury or death. In the interests of safety, we strongly encourage our customers NOT to try it. We will provide you with a step-by-step process that we recommend to try for those who desire to add a fingerprint to the reverse side of their dog tags. This process was developed through trial and error by Steve Beaver of the China Marines, F/2/5 using brass dog tags, so it may or may not work on our stainless steel dog tags. Remember though, that the dog tags worn by most of those who served during the war did not have a fingerprint on the reverse side as this requirement was eliminated in January 1943.
View Reference Eliminating Fingerprint
The Recommended Process
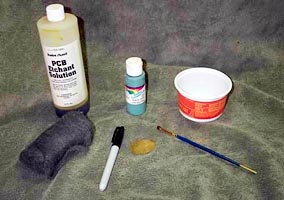
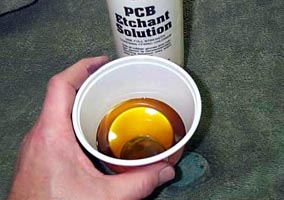
| STEP 1: You will need the following items: A bottle of PCB Etchant solution (available at Radio Shack, part number 276-1535, or any electronics store that sells electronic components); a small amount of hobby acrylic paint (any brand will do but it should be water soluble); some fine steel wool; a paint brush; a small container that is large enough to hold your dog tag; and a permanent marker. |
 |
|
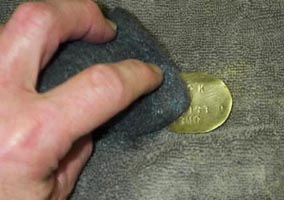 |
STEP 2: On the stamped side of your dog tag, clean the surface of any skin and surface oils by brushing it lightly with the fine steel wool. | |
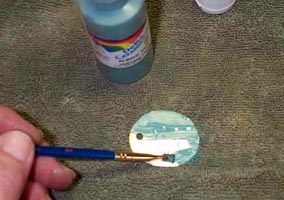
| STEP 3: Apply a coat of the acrylic paint to the stamped side of the dog tag that you just cleaned. Once painted, and let it dry (a hair dryer can be used to speed up this process). |
 |
|
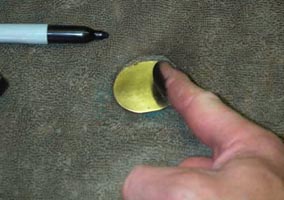 |
STEP 4: Turn the tag over to the unstamped side and clean it of any skin and surface oils by brushing it lightly with the fine steel wool. Next, take the permanent marker and give your right index finger a heavy coat of ink and apply your fingerprint to the back of the tag by rolling your finger on the surface. Once you have applied the fingerprint, let it thoroughly dry before proceeding to the next step. | |
| STEP 5: Place the dog tag into a shallow container with the fingerprint side up, then pour enough of the etching solution to cover the tag. Gently agitate the bowl for about 2 or 3 minutes. |
 |
|
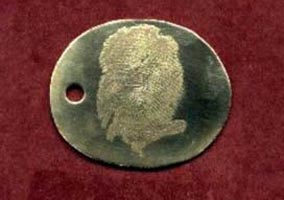 |
STEP 6: Remove the tag from the etching solution and rinse with warm soapy water. Lightly brush the fingerprint side with the fine steel wool, then peel of the paint on the stamped side and polish it up with your fine steel wool. Repeat this process for the second dog tag. There you have it, a swell looking reproduction USMC early war dog tag. | |
The Original 1941 Process
For informational purposes only, the originally prescribed process is provided at the link below. Again, we discourage anyone from attempting to utilize this process as serious injury or death could result.